LANGUAGE
Installing a steel silo is a precision engineering task that requires careful planning, proper equipment, and strict adherence to quality standards. A well-executed installation ensures structural integrity, long-term reliability, and safe operation for decades to come. Conversely, shortcuts or oversights during installation can lead to material leakage, structural failure, corrosion, and costly economic losses.
This guide outlines the seven key steps for a successful steel silo installation—from site preparation and foundation work to component assembly, roof installation, and final commissioning. Whether you are installing a bolted silo, a spiral silo, a flat-bottom silo, or a cone-bottom silo, these steps provide a comprehensive framework for a safe and efficient installation process.
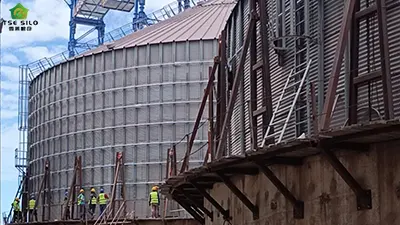
The foundation of a successful steel silo installation is laid long before the first component arrives on site. Thorough pre-installation preparation includes site survey, design confirmation, and tool preparation.
Site Survey: Before any field work begins, conduct a comprehensive site survey to understand the terrain, soil bearing capacity, groundwater level, and surrounding environment. The flatness of the site should be controlled within ±10mm, and the slope should be ≤1%. There should be adequate space for mechanical operation and material stacking—generally, more than 2 meters should be reserved around the installation area.
Design and Material Confirmation: Select the silo model according to storage volume, grain type, and environmental wind and snow loads. Check the accessories list thoroughly: wall panels, pressure rings, bolts and nuts, anti-corrosion gaskets, sealants, and foundation bolts. Verify that all fasteners have no rust or deformation and are complete.
Tool Preparation: Configure complete installation tools according to the silo type and construction scale. This includes:
Component Preparation: Before installation, transport the top components, the first layer of panels, and the first section of columns to the construction site. Set up a center support at the foundation center to temporarily support the silo top ring. Count all bolts, nuts, spherical washers, and rubber-plastic gaskets one by one against the shipping list. Approximately 85% of M10 specification bolts need to be pre-fitted with spherical washers and rubber-plastic washers, primarily used at the connection points between the silo top and the silo cylinder.
The foundation is the most critical component of any steel silo. It must be strong enough to support the weight of stored grain and prevent the empty silo from being damaged by wind forces. Without a stable foundation, the entire structure is at risk.
The foundation typically consists of a ring beam, cushion layer, and foundation bolts. The construction process includes:
The foundation uses a bottom plate integral or segmented support foundation. A discharge hole can be reserved in the center of the pedestal. If the silo height exceeds 15 meters, it is recommended to add cross steel beam support in the middle of the pedestal to prevent stress concentration in the cone-bottom transition area. The bottom plate embedded bolts are arranged according to the hole positions of the ring plate under the cone bottom, with hole spacing error ≤2mm.
Foundation construction typically takes about 3–5 days for a flat-bottom silo, and you must wait for the foundation curing period before proceeding. The foundation must provide uniform and level support to the structure being supported.
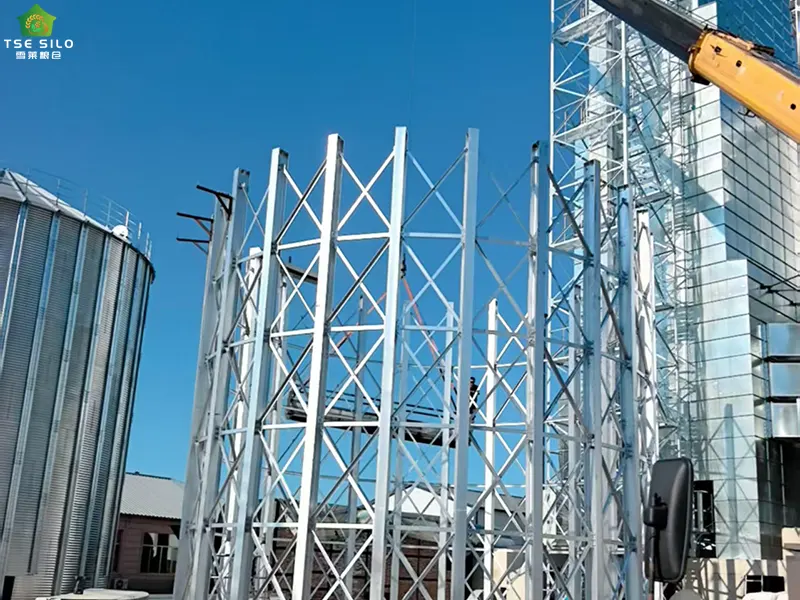
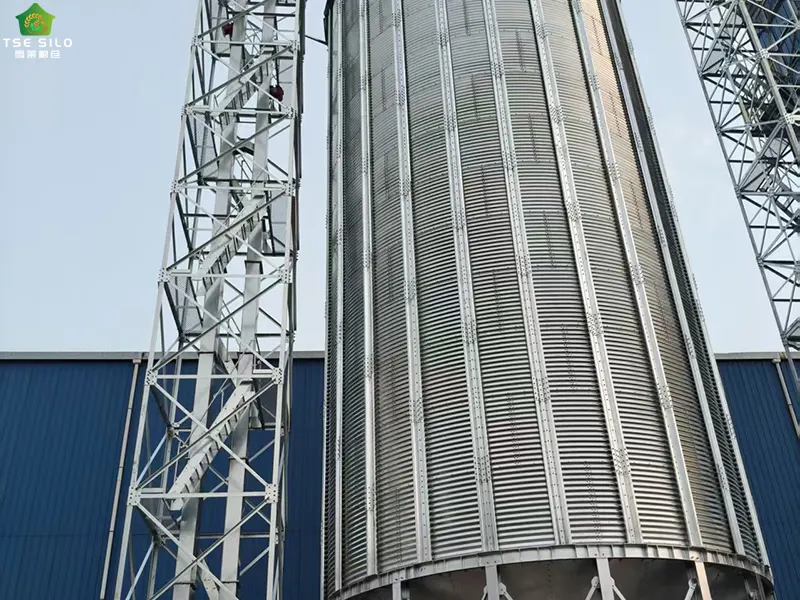
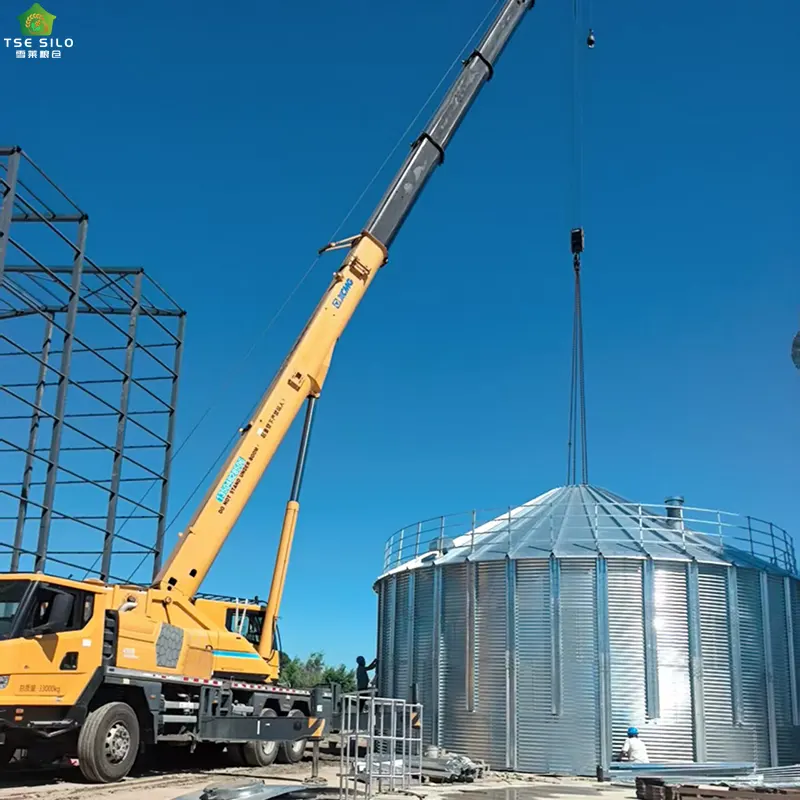
With the foundation ready, the next step is assembling the silo components and erecting the silo body. The assembly process differs depending on the silo type—bolted or spiral.
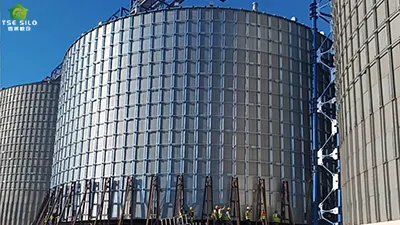
Spiral steel silos are constructed using a fundamentally different method—continuous spiral rolling on-site. The installation process follows a top-down sequence: roof making first, then silo rolling.
The installation process includes:
Spiral steel silos mainly use 495mm wide steel coils. The steel plate is fed into the forming machine, bent into the required diameter arc, and then bent, bitten, and rolled together, forming a spiral 30–40mm wide undercut. During the rolling process, the outside wall forms a spiral undercut that is 5 times thicker than the plate, which greatly enhances the carrying capacity of the silo body. This spiral interlocking process ensures excellent airtightness even in high-temperature, high-humidity environments.
The rolling and installation process involves continuous control of production. When the silo is rolled to a certain height, the first ring of stiffeners is installed; when it reaches another height, the second ring is installed. This cycle continues until the silo reaches the designed height.
Center Point and Base Line Determination:
The center point and base line of the steel silo play a vital role in quality. Before installation, determine the center point of the steel silo. Taking the center as the origin, draw the base line according to the silo radius. On the basis of the radius of the drop line, increase 250mm and draw the line—this is the base line of the running frame. These must meet the requirements of the design drawings, with diameter tolerance ≤±3D‰ and ≤±30mm.
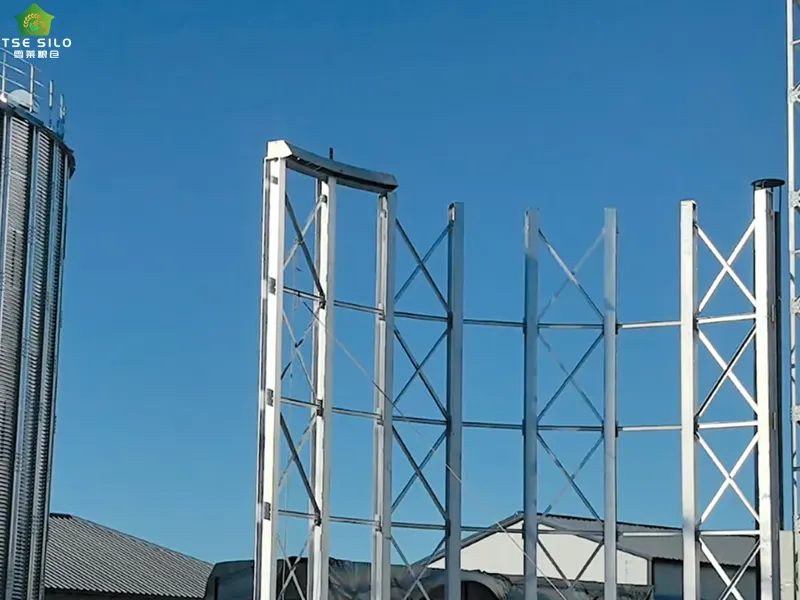
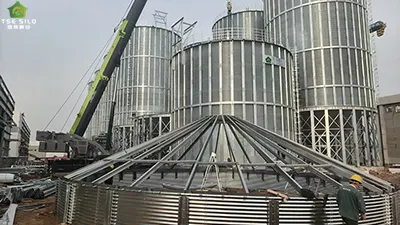
The roof is a critical structural component that must be installed with precision to ensure proper sealing and structural integrity.
The roof platform is installed at a calculated height before the silo body is rolled. After the silo body is rolled to approximately 2 meters in height, roof installation begins. Use a plasma cutter or electric welding to cut the horizontal lines on the bin top, then install the bin top structure.
General Roof Installation Tips:
Proper connections and sealing are essential for structural integrity, grain quality preservation, and effective fumigation.
For bolted silos, connections rely on high-strength bolts, rubber gaskets, and sealant. Key requirements include:
For welded silos or welded components, strict quality standards must be met. Key welds require ultrasonic flaw detection. The welding process must follow technical requirements for butt joint longitudinal joints. Weld bead repair and rework procedures should be followed as needed.
After completing welding or bolted connections, conduct comprehensive airtightness testing to verify sealing performance. This is particularly important for silos that will be used for fumigation or controlled atmosphere storage.
With the main silo structure complete, the next step is installing ancillary equipment that enables efficient operation and grain quality management.
Install aeration ducts at the bottom of the silo (for flat-bottom silos) to allow air to be pushed up through the grain mass. Ensure ducts are well sealed to prevent air leaks. Connect fans and verify they are in proper technical condition.
Install temperature sensors at multiple levels within the silo (top, middle, bottom) to provide continuous data on grain conditions. Connect sensors to the monitoring system.
Install level sensors to monitor grain fill levels. For cone-bottom silos, install level indicator ports at appropriate positions.
For cone-bottom silos, install discharge equipment at the bottom. Ensure discharge opening dimensions are precisely calculated based on particle size and required flow rate.
Install dust control systems to maintain a clean and safe operating environment.
The final step is a comprehensive inspection and testing process to verify that the silo has been installed correctly and is ready for operation.
Conduct a pressure test to verify the silo's sealing performance. This is essential for silos that will be used for fumigation.
Turn on aeration fans to verify proper airflow throughout the silo. Check that air is evenly distributed through the grain mass.
Verify that all temperature sensors, level indicators, and control systems are functioning correctly.
The initial feeding must be conducted in three stages:
After each completion, the grain must be left to stand for a period of time—less than 2 times before a month, and not less than 2 months. This staged loading allows the foundation and structure to settle gradually, preventing sudden stress that could cause structural damage.
| Step | Activity | Typical Duration |
| Step 1 | Site Survey & Preparation | 2–5 days |
| Step 2 | Foundation Construction & Curing | 3–5 days (plus curing time) |
| Step 3 | Component Assembly & Silo Body Erection | 5–10 days |
| Step 4 | Roof Installation | 2–4 days |
| Step 5 | Connection & Sealing | 1–3 days |
| Step 6 | Ancillary Equipment Installation | 2–5 days |
| Step 7 | Inspection, Testing & Commissioning | 2–4 days |
Total estimated installation time: 15–30 days, depending on silo size, type, and site conditions. Foundation curing and staged loading add additional time beyond the active installation period.
Throughout the installation process, pay special attention to these critical quality control points:
Installing a steel silo is a significant investment that requires careful planning, skilled execution, and strict quality control. By following these seven key steps—site preparation, foundation construction, component assembly, roof installation, connection and sealing, ancillary equipment installation, and final inspection and commissioning—you can ensure a successful installation that provides decades of reliable grain storage.
The foundation must be stable and level. Components must be assembled with precision. Connections must be properly sealed. And the initial loading must be conducted in stages to allow the structure to settle gradually.
A well-executed installation not only protects your grain from moisture, pests, and spoilage but also minimizes maintenance costs and extends the service life of your silo. Whether you choose a bolted silo for its flexibility or a spiral silo for its superior sealing performance, proper installation is the key to unlocking the full value of your grain storage investment.
Written by
Shandong Shelley Grain Steel Silo Co., Ltd
Editor Jin
WhatsApp : +86-18653877118
Email : shelley@cnshelley.com